THE FUTURE IS NOW!
I've purchased a
3D printer. It was a bit of an impulse purchase from Amazon, and by that I mean that I time-boxed the research period before purchasing. If you do any web searches for 3D printers, there is a TON of information out there and a lot of it is difficult to internalize without any 3D printing experience. So, I decided that ~$400 was a price point that I could handle for a toy that might be awesome or may turn out to be a flop.
With the $400 option, there is some assembly required. When I say "some," I mean "a ton." Here's what it looks like out of the box:
I asked one of my grad school buddies if he wanted to lend a hand with the assembly. His response was something to the effect of "You better not start without me!" Two engineers should be able to throw this thing together on the quick, right? A Saturday morning should do the trick, right? Wrong.
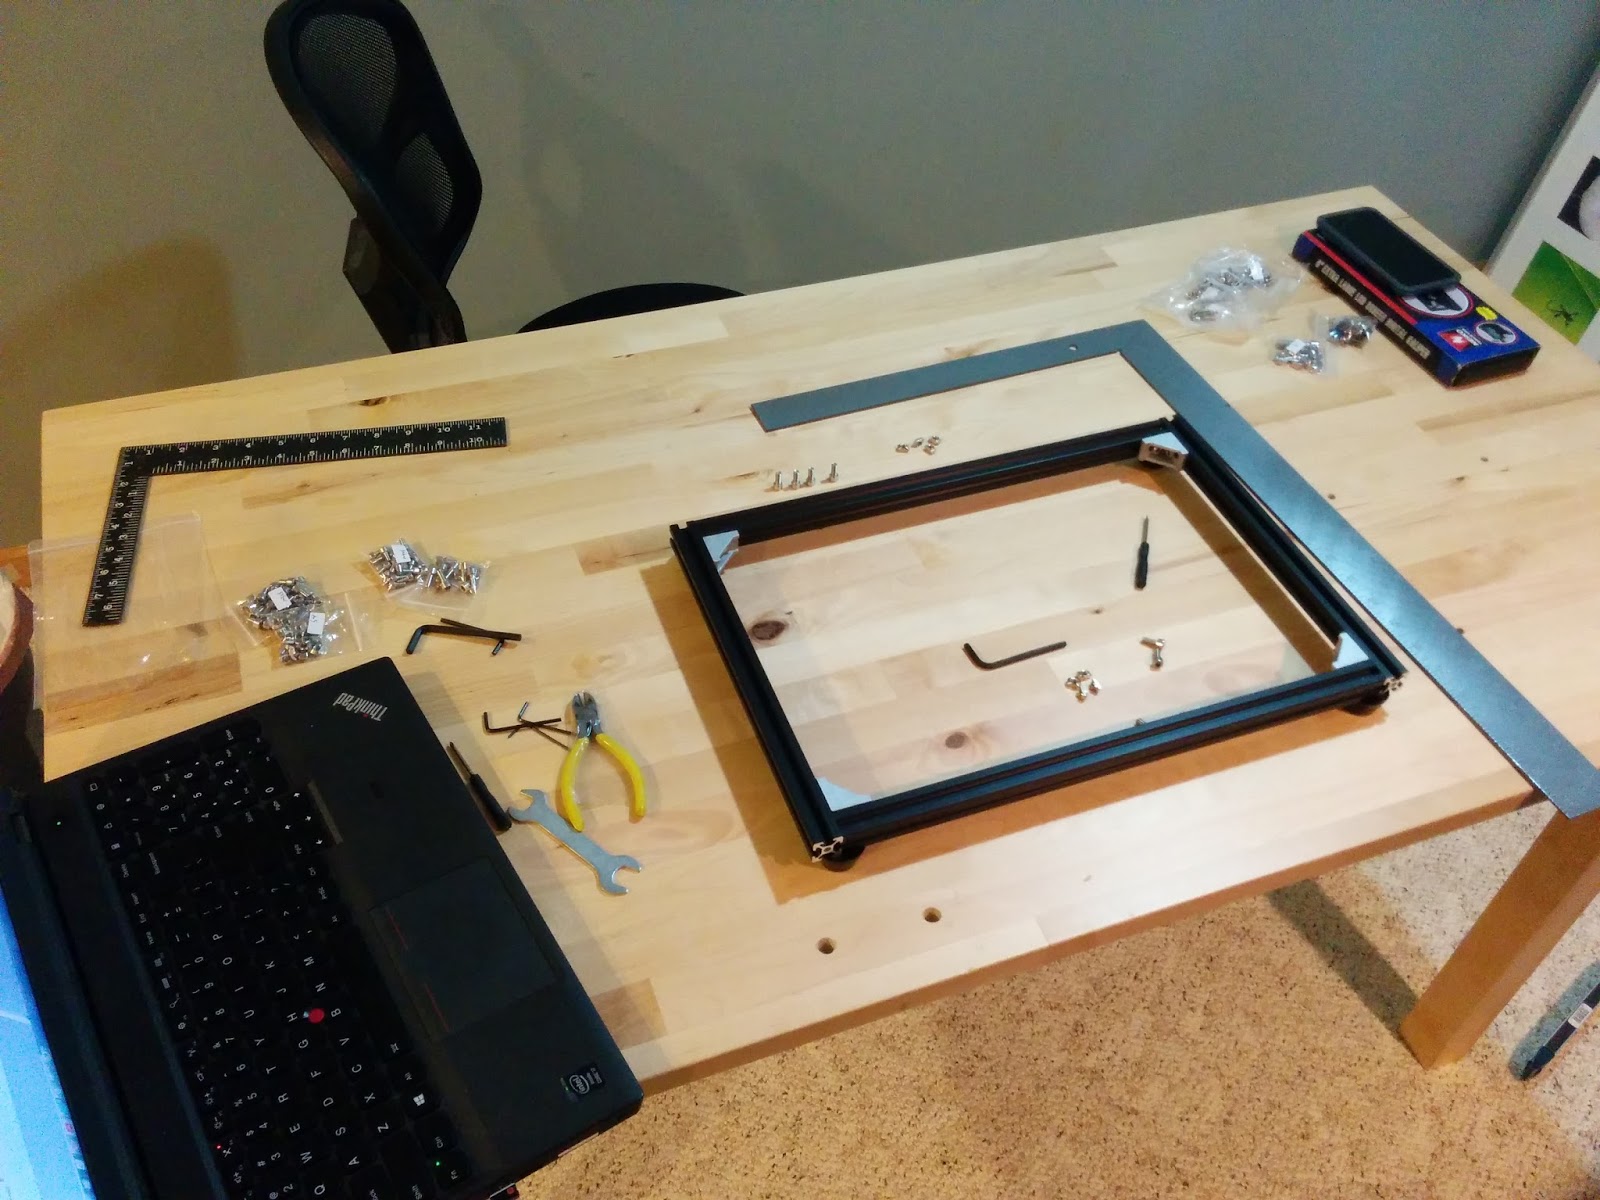
Here are some photos of the assembly process:
One minor setback occurred when I failed to correctly identify a stepper motor. The kit includes two different sized motors, just a few millimeters different in length. The z-axis motors are slightly shorter and, as we learned, the taller stepper motors don't fit.
As the wiring came together, it slowly devolved into an absolute rat's nest. Although it's a bit unsightly, I prefer this slightly less polished model of printer because I can easily trace lines, troubleshoot, and replace individual components.
Throughout the course of the build, I was surprised with the relatively high level of quality for a kit straight from China. The installation instructions were in poorly translated English and weren't always accurate, but it possible to figure it out with a little deduction.
My quality opinion went down when I realized that I was short five fastening parts. They're sort of like M5 nuts, but with a special shape that allows them to turn 90 degrees and then stop within the aluminum frame channel. I contacted the seller through amazon and they said they will ship me the missing parts. Since I didn't want to wait for the slow boat, I improvised for the mean time:
There's nothing a little duct tape can't fix! Well, nothing except this protruding set screw that prevents the extruder heatsink from seating properly...
Fine, there's nothing a little duct tape, a drill press, and a step bit can't fix!
Next, I got those blasted cables under control... zip ties!
And, finally, a test print: